THIS ADDON WILL BE UPDATED AS ANOTHER ADDON, AND WILL NO LONGER BE UPDATED ON THIS PAGE. NEW ADDON → AI Explainer Enhanced
==================================================
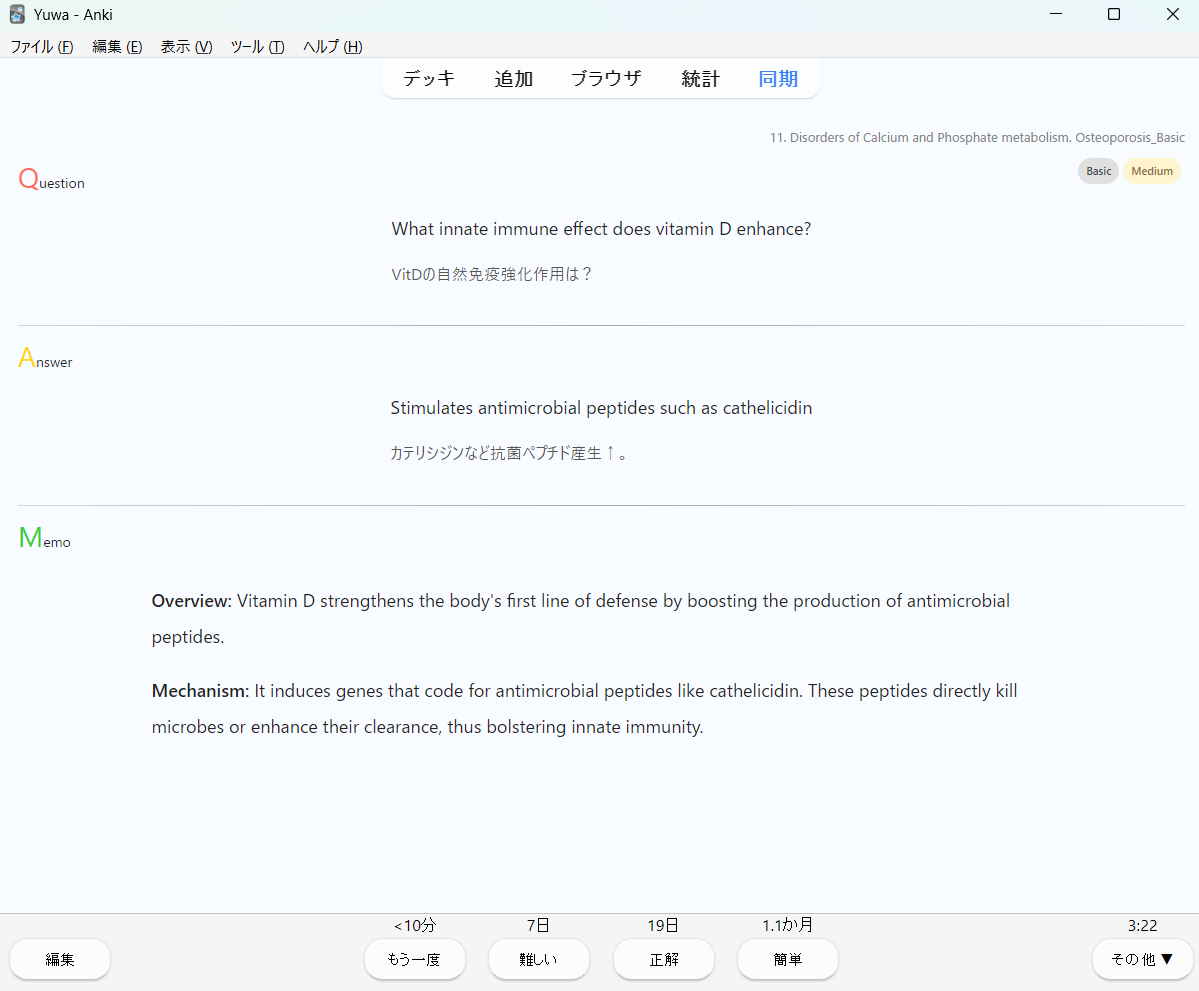
Good cards ask questions — great cards also explain why. Automatically add concise, exam-focused explanations to your existing Anki cards. No rewriting, no clutter — just the context you actually need.
Key features • Generates short explanations from your Q&A fields • Works during review or in batch mode • Supports OpenAI and Gemini (configurable)
How to use Run it on the current card or on a batch selection; explanations are written to your chosen field.
Source code GitHub: https://github.com/yuwayanagitani/anki-ai-explainer
==================================================
Manual
-
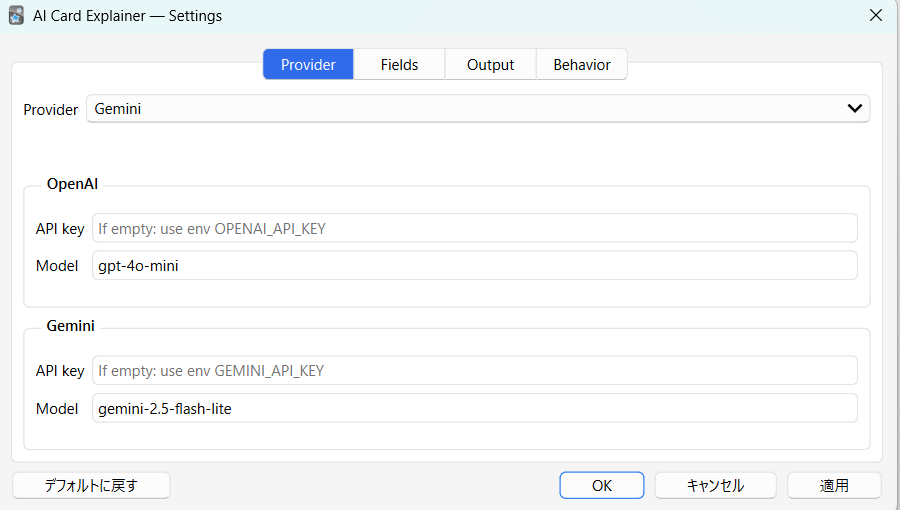
You can access to the config via “Tool” → “Add-ons” → “AI Tutor for Anki”
-
Here, you can select your preferable provider, and set your API key. (You can get the keys from provider’s website. You don’t have to input your keys if you already set them on your computer as envirnmental variables)
-
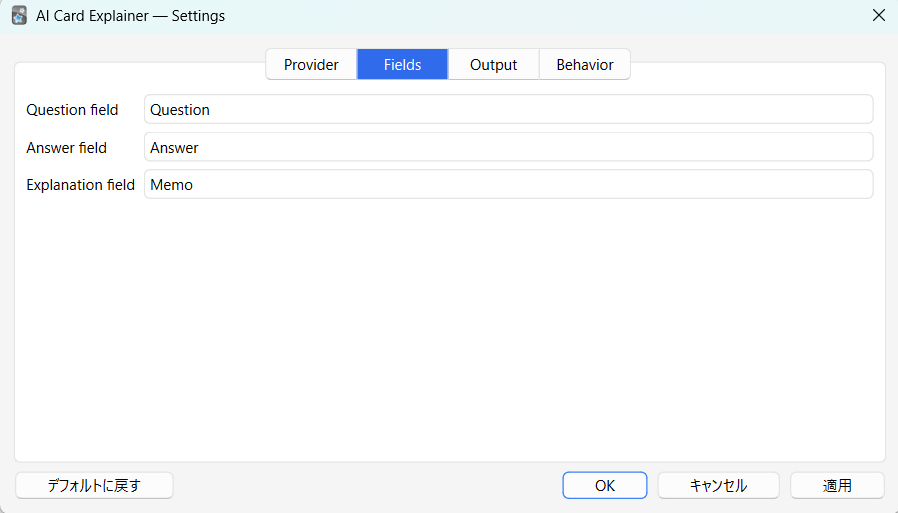
Here, You can specify the names of question and answer fields of your template. (Default is “Front”, “Back”, and “Explanation”)
-
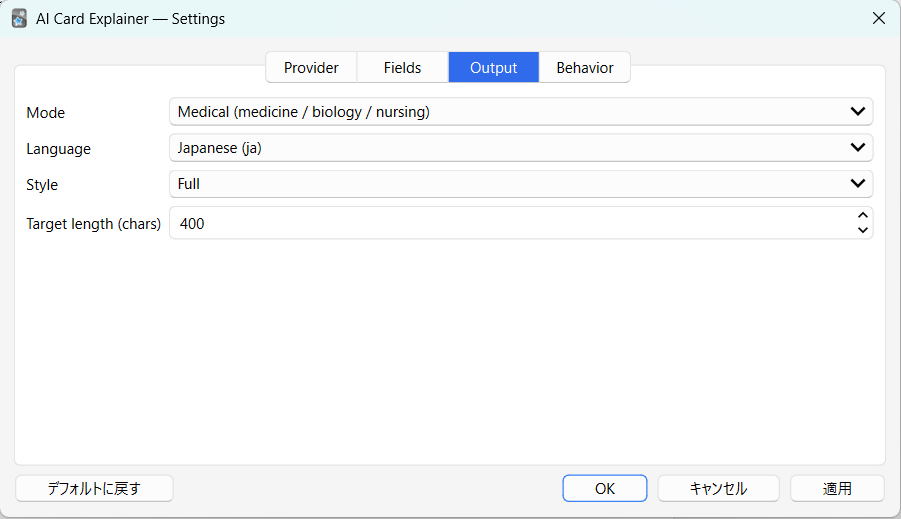
Here, You can select the language of explanation and explanation style.
-
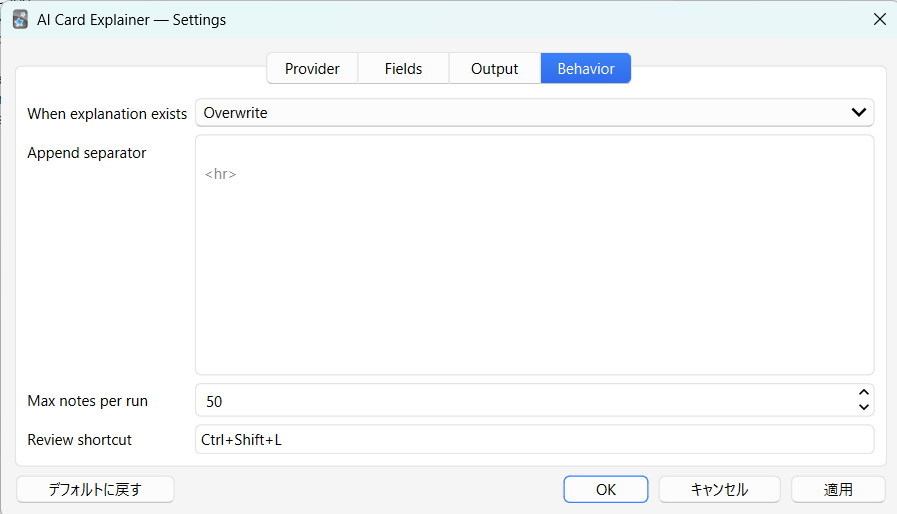
Here, You can select how to add explanation to your field.
Append → If something is already written in the field, explanation will be added at the end of the existing one. Overwrite → If something is already written, that will be overwritten by new explanation.
How to add new field to your template
-
This is how you can add new field (default for this add-on is “Explanation”) to your card type.
-
And, This is how you can add the newly-added field to your template of that card type.
If you have any question, please ask me on the comment or GitHub.
==================================================
API Key Required This add-on uses external AI services and requires your own API key. Supported providers include OpenAI and Google Gemini. No API key is included or provided by this add-on.
How to Set the API Key (Environment Variable) The API key must be stored as an environment variable so that Anki can access it securely.
macOS Run the following command in Terminal: launchctl setenv OPENAI_API_KEY your_api_key_here or for Gemini: launchctl setenv GEMINI_API_KEY your_api_key_here Restart Anki after setting the variable.
Note: On macOS, environment variables set with launchctl may be cleared after an OS reboot. To avoid re-setting them every time, define the variables persistently using a LaunchAgent or your shell profile.
Windows
Open “Environment Variables” from System Settings. (You can access it by searching “environment” in your start menu (windows button).
Add a new user variable: Variable name: OPENAI_API_KEY or GEMINI_API_KEY Variable value: your_api_key_here
Restart Anki after saving.
Once the environment variable is set, the add-on will automatically detect it on startup.
==================================================
Version Updade Version 0.2.0 - Improve the prompt for the api. More coherent explanations will be responded. (2025-12-14) Version 0.2.1 - FIxed bug on AI response html modificating function (2025-12-14)/li> Version 0.3.0 - Multiple languages supported and general questions will be answered, not only medical questions (2025-12-15) Version 0.3.1 - Improved the prompt for general questions. (2025-12-16) Version 0.3.2 - More adhesive answers from AI. (2025-12-20) Version 0.3.3 - This addon can generate even if only question or answer field is found. (2026-1-2)
==================================================
Supports
This tool is built to support medical students and residents. Support via thumbing up 👍 on this page and Buy Me a Coffee ☕ motivates me a lot!!
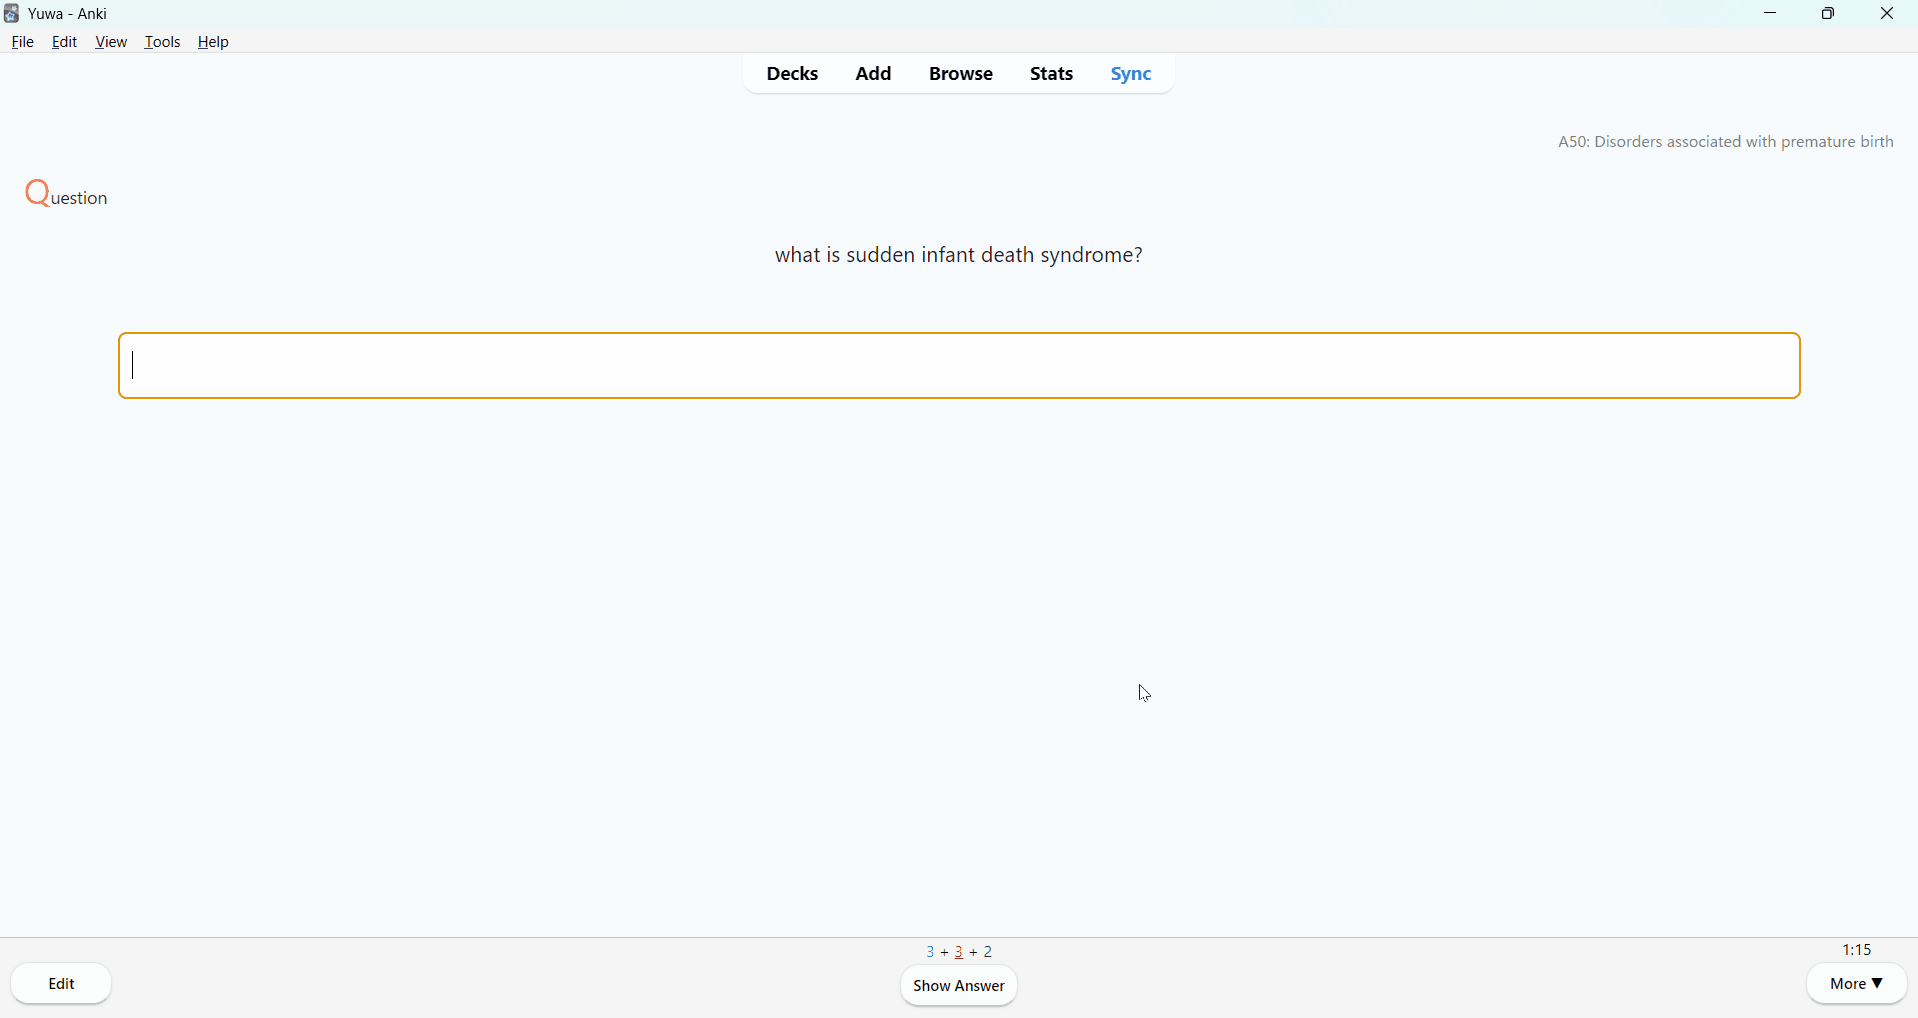
Screenshots